Recyclers-Anonymous fabulous idea we wanted to share with you ... this project may be an original or borrowed idea.
This is an original today.
Earlier this month Lindsey mentioned a friend of mine had let us go through some of his stuff and we came back with some treasures. This is one of them. He works with farmers and received these sacks, similar to burlap sacks, but made of nylon material. So we transformed them into a shopping sack.This was pretty easy.
Showing posts with label recycle. Show all posts
Monday, June 14, 2010
Wednesday, June 9, 2010
In a Clutch Hobo Bag
Recyclers-Anonymous has a fabulous idea that we wanted to share with you ...
this project may be an original or borrowed idea.
In a Clutch Hobo Bag
Let us start by saying Happy Birthday Mom and Yaya (both the same person). We love you!
This idea came from an older crafting project we saw done with a scarf, but we changed it up just a bit.
This is the cutest and easiest bag you will ever make in just a few minutes.
Supplies:
Fabric, a piece of square fabric or square scarf (approximately three feet wide is what we used)
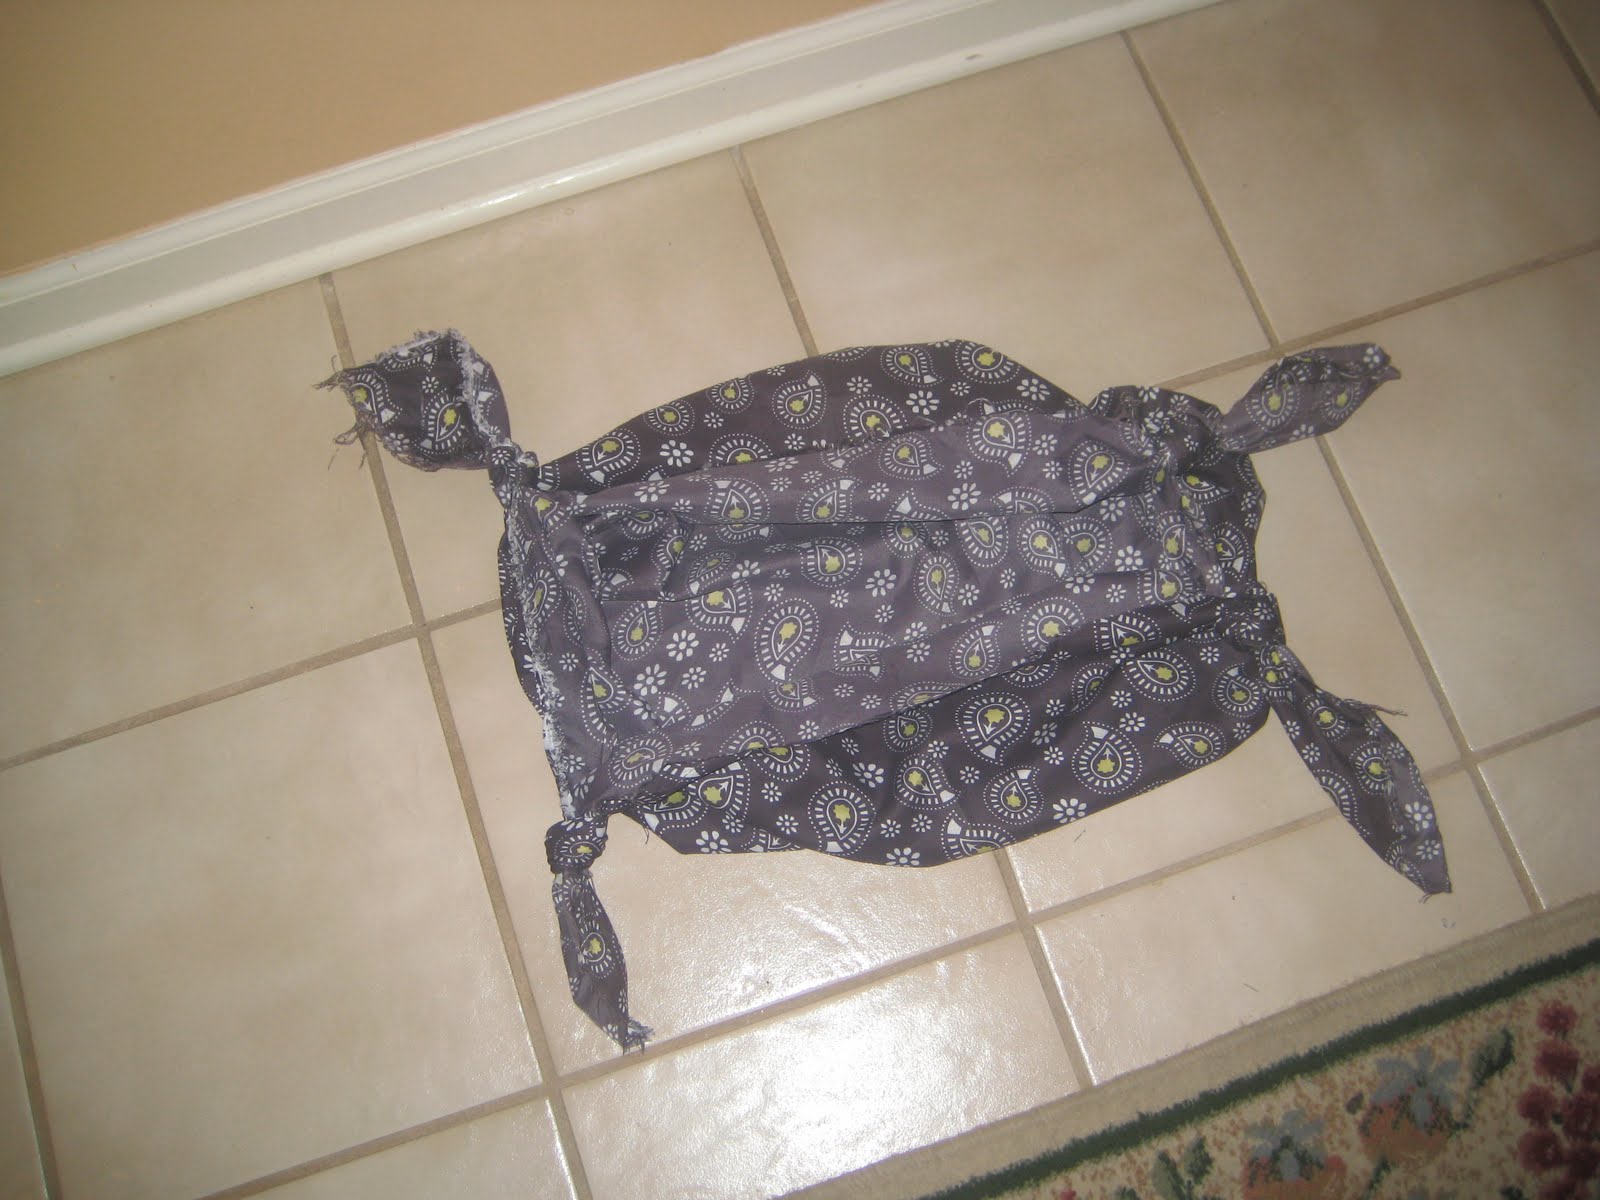
Tie each corner at least six inches down in a knot.
It looks like a turtle. Now tie two of those ends together in a knot. And adjust it so it is a cute bag. Beautiful, easy and fast!
Labels:
bag,
hobo bag,
knot,
material,
pocketbook,
purse,
recycle,
scarf,
scrap material
Monday, June 7, 2010
Savvy Scarf Holder
This idea came from my friend, Ange'. She saw the paper ring trash can and thought this might be a good project, so we tried it.
Saturday, June 5, 2010
Bucket Garden
This is our version of a mini garden. We call it the Bucket Garden. It has been about a month since we planted these and they have grown to this size. We have green tomatoes now and it looks like the peppers will be sprouting soon. Here's what you need to start:
Buckets (old paint bucket or drywall bucket)
Spray paint
Soil
Rocks
Seeds or starter plants
Start by cleaning bucket and drilling three holes in the bottom of the bucket for drainage. Spray paint buckets. We added some decorative flowers to the buckets too.
Add rocks to bottom for drainage then soil.
These are the tomato plants, picture taken this morning, We should be eating them in the next week or so. The peppers will take a few more weeks. We did have a deer incident where there was some missing leaves one day, so we moved them all to the driveway and leave a light on at night and the deers don't seem to come so close to the house on the driveway.
Buckets (old paint bucket or drywall bucket)
Spray paint
Soil
Rocks
Seeds or starter plants

Add rocks to bottom for drainage then soil.
These are the tomato plants, picture taken this morning, We should be eating them in the next week or so. The peppers will take a few more weeks. We did have a deer incident where there was some missing leaves one day, so we moved them all to the driveway and leave a light on at night and the deers don't seem to come so close to the house on the driveway.
Wednesday, June 2, 2010
Recycled Paper Trash Can
Day two of our summer adventure begins with a fun and pretty easy recycling project made out of just a few items. We'll start out with a few pictures of the project. We hope you can get the full effect by the photos:
Only a few items were used to create this fun and creative garbage can. We found the idea on the internet and modified it to simplify the project. These are the things that we used:
Plastic lid of a coffee can
Old Magazine
Hot glue gun
Glue stick

Tear off sheets from an old magazine, no cutting, just rip it from seam (don't worry if it's not even, it will still work). Find colorful pages, it will make it even more original.
Then fold pages in half, long ways, fold and fold and fold again, pressing down at each fold to make smooth edges.
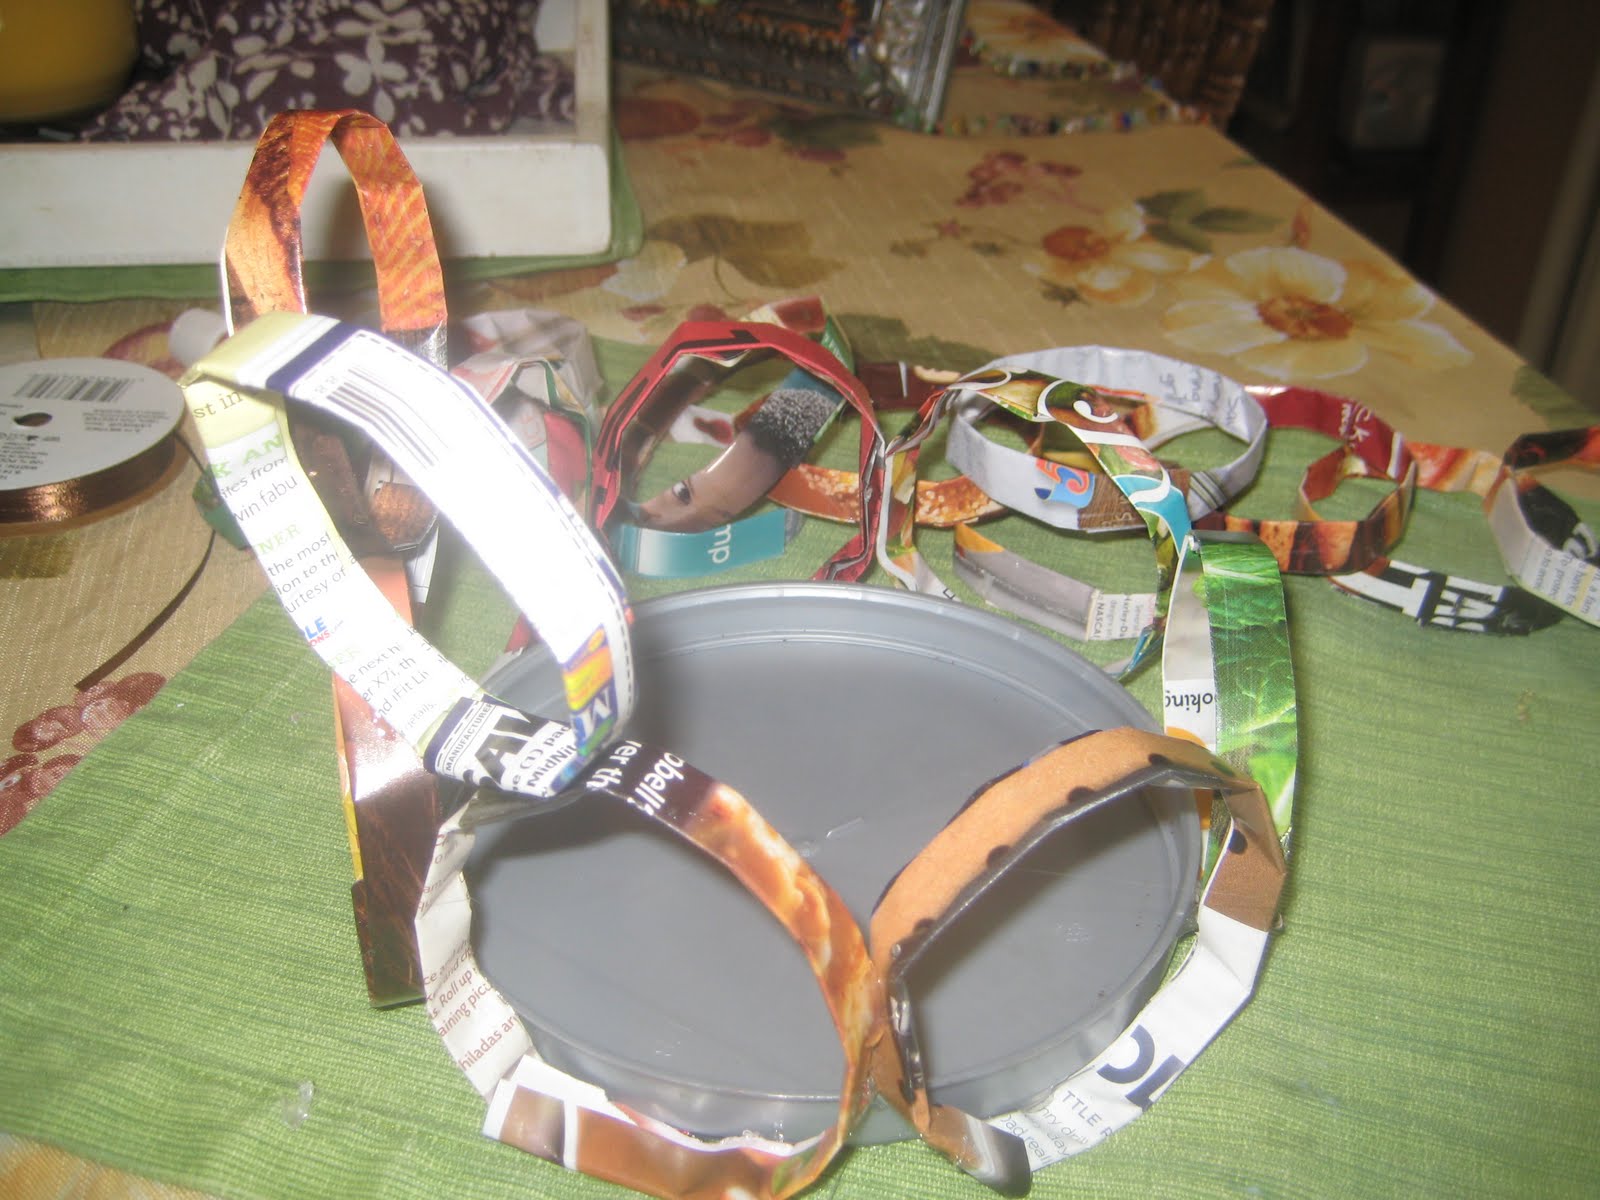
We did this while we were sitting watching t.v. or talking to family, that way the time went by faster. Then we took a glue stick and made a circle out about 35 folded pages, glued the edges inside of each other. We then took about 6 prepared pages and cut them in half and made smaller circles.
Next comes the fun part, assembly! At the bottom of this project is a coffee lid, glue circles around the lid with a hot glue gun. We did the bottom of the circles first, then glued the sides of the circles to each other. Then went to the next level and continued up until we got the shape that we wanted.
At the top, when we felt it was tall enough, we added half circles to finish it off. We then put a recycled grocery bag it in and set in the bathroom. It is perfect for our small half bathroom.
Only a few items were used to create this fun and creative garbage can. We found the idea on the internet and modified it to simplify the project. These are the things that we used:
Plastic lid of a coffee can
Old Magazine
Hot glue gun
Glue stick
Tear off sheets from an old magazine, no cutting, just rip it from seam (don't worry if it's not even, it will still work). Find colorful pages, it will make it even more original.
Then fold pages in half, long ways, fold and fold and fold again, pressing down at each fold to make smooth edges.
We did this while we were sitting watching t.v. or talking to family, that way the time went by faster. Then we took a glue stick and made a circle out about 35 folded pages, glued the edges inside of each other. We then took about 6 prepared pages and cut them in half and made smaller circles.
Next comes the fun part, assembly! At the bottom of this project is a coffee lid, glue circles around the lid with a hot glue gun. We did the bottom of the circles first, then glued the sides of the circles to each other. Then went to the next level and continued up until we got the shape that we wanted.
At the top, when we felt it was tall enough, we added half circles to finish it off. We then put a recycled grocery bag it in and set in the bathroom. It is perfect for our small half bathroom.
Wednesday, May 26, 2010
Welcome to our blog...
Beginning June 1, 2010, Lindsey and I are going to start daily projects of recycled goods. We intend to recreate and reuse products, hopefully some good ideas that you can recreate too.
Subscribe to:
Posts (Atom)